Happy Thanksgiving to our friends in the US! Let's help them celebrate with Black Friday / Cyber Monday discounts on all of our desktop apps!
We're offering all of our desktop apps at a sale price of up to 50% off, until Monday, December 2nd!
If you're not familiar with all of our apps, feel free to check them out on our More Apps page.
Happy Thanksgiving, everyone!
We're very excited to announce that DisplayFusion 9.6 Beta 4 is now available for download! This version overhauls the backend code for Monitor Configuration and Monitor Profiles to resolve a bunch of compatibility issues with various setups.
We encourage everyone to update to this new version today to take advantage of these improvements. If you've already purchased DisplayFusion, it's a lifetime license, so you can upgrade to this version at no cost! If you would like to see a complete list of all the changes, please visit the DisplayFusion Beta Change Log.


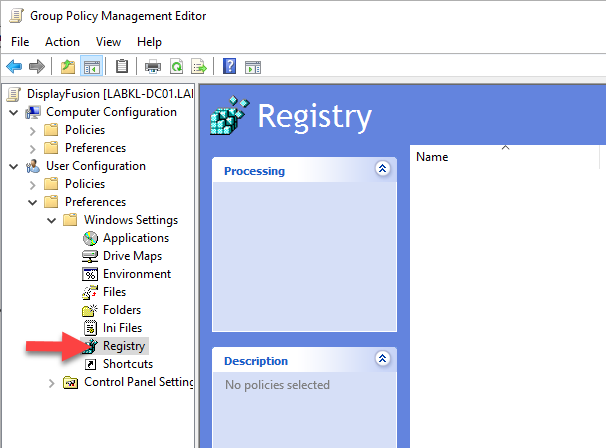
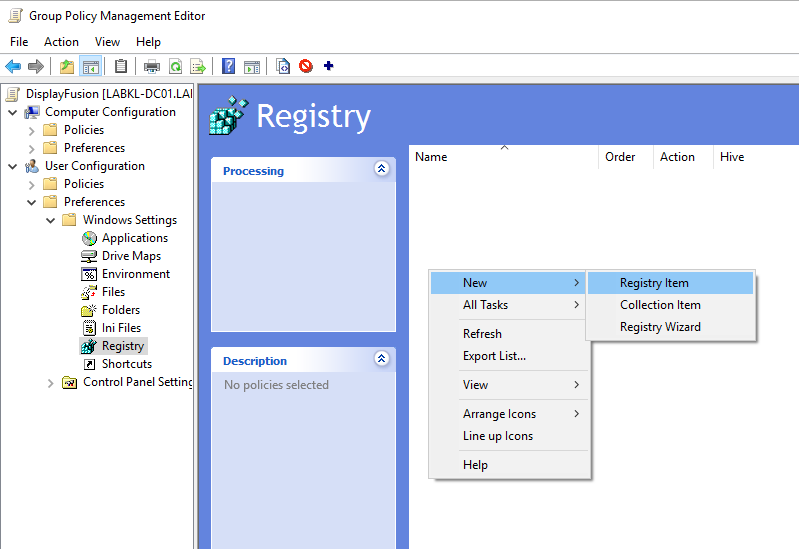
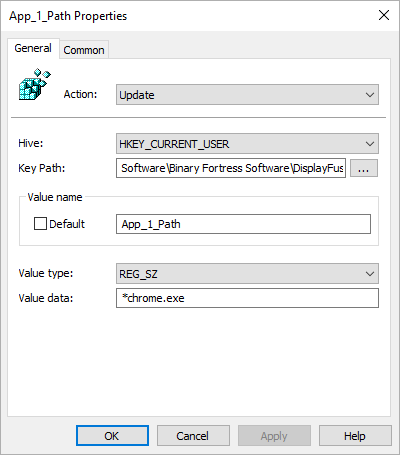
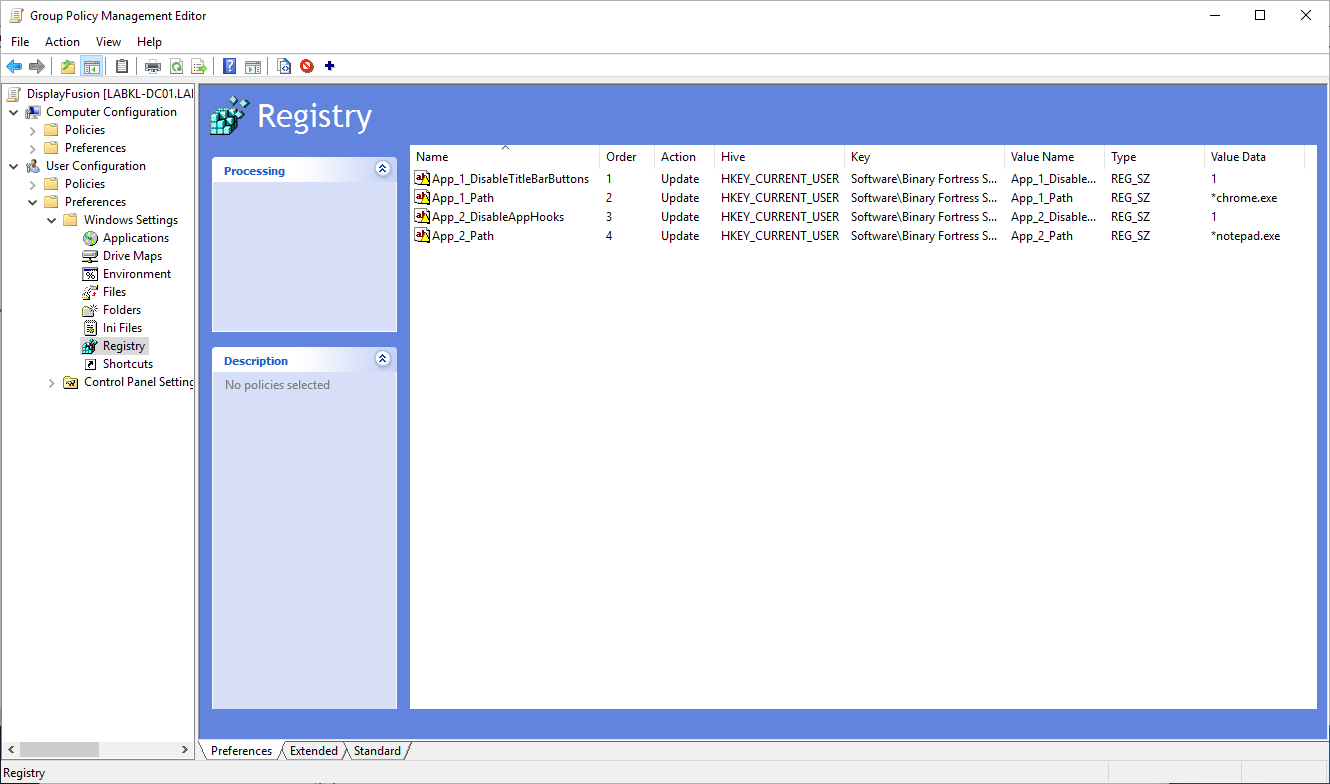
Software\Binary Fortress Software\DisplayFusion\Compatibility
App_1_Path
*chrome.exe
| Setting Name | Registry Value Name |
|---|---|
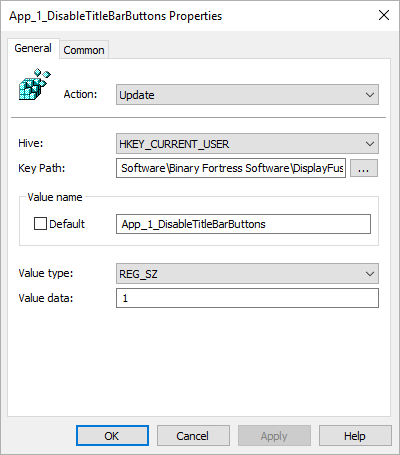
| Disable TitleBar Buttons | App_X_DisableTitleBarButtons |
| Disable TitleBar Buttons (all applications) | App_X_DisableTitleBarButtonsAll |
| Disable Window Snapping | App_X_DisableWindowSnapping |
| Disable Wallpaper changes while running | App_X_DisableWallpaperChanges |
| Disable middle-click window moving | App_X_DisableWindowMoveMiddleClick |
| Disable maximized window dragging | App_X_DisableWindowMoveMaximizedDrag |
| Disable removing from Windows Taskbar | App_X_DisableWindowsTaskbarRemove |
| Disable Application Hooks | App_X_DisableAppHooks |
| Disable DisplayFusion Taskbars while running | App_X_DisableTaskbarsAll |
| Disable moving new windows to current monitor | App_X_DisableMoveNewProcessWindowsToCurrentMonitor |
| Use process file icon on DisplayFusion taskbar | App_X_ForceProcessTaskbarProcessIcon |
| Force DisplayFusion to treat this application as full screen | App_X_ForceTreatAsFullScreenWindow |
| Disable unfocused mouse scrolling | App_X_DisableMouseScroll |
| Use alternate Mouse Scroll method | App_X_DisableMouseScroll |
| Normal TitleBar Button Offset X | App_X_TitleBarButtonOffset |
| Normal TitleBar Button Offset Y | App_X_TitleBarButtonOffsetY |
| Maximized TitleBar Button Offset X | App_X_TitleBarButtonOffsetMaxX |
| Maximized TitleBar Button Offset Y | App_X_TitleBarButtonOffsetMaxY |